BryanMcPhail.com

Professional software development, amateur BMW tinkering, old arcade game stuff

By

Sega MegaTech arcade pcb repair

The MegaTech is a pretty rare system, I’m not sure it was even released in the USA.  The hardware is based on the Genesis/Megadrive and there are 8 cartridge slots on the board.  An extra monitor in the cabinet lets the user select between the available games.  Around 60 different cartridges were released which let the operator easily switch games inside the cabinet.

This board though – was absolutely dead – black screen.  The ‘master’ of this board is actually the Z80 CPU that controls the menu and 2nd monitor – the ‘slave’ is the 68000/Z80 combo from the Genesis system.  This BIOS Z80 sits on a little sub-board with a parallel port, but that seems to only be used for coin statistics data, so the Z80 can be plugged directly into the main board to eliminate any problems with the sub-board.

20180903_155610

Nothing was obviously wrong with the CPU or the board though – so I used my home-made Arduino in-circuit probe to replace the Z80.  With this I could test the memory and quickly found the 6264 RAM chip was flaky – it mostly worked but would sometimes return random values.  When replaced the memory test was perfect but the game was absolutely still stuck on a black screen.

20180915_111544

I moved onto to test the Sony CXD1095 chips – these are just off the shelf port extenders and the BIOS Z80 can access two of them, to handle inputs and drive some outputs.  The inputs all tested good – I could ground out various inputs, and see the result on the Arduino tester.  I could also see the port that detects cartridge insertion working as the value changed as I removed and installed carts.  At least one of the outputs seemed bad at IC24 though – it was attached to a pull-up resistor but the chip was unable to drive it low.  I swapped this chip out with one from a Thunderblade and some progress at last – the BIOS Z80 booted and gave some video output.

20180917_081445

However, it refused to detect any games – from examining the MAME source I knew the BIOS Z80 is able to read data from the cartridges – and it uses that data to populate the menu.  The Arduino tester showed the CPU was just reading 0xff for every byte in the cartridge region.  This traced back to the Sega custom 513-5309.  This chip is somewhat documented as it’s used on the Megadrive/Genesis as a bridge between the 68000 and the Z80.  A logic probe showed the chip wasn’t dead, so I examined more with a scope – with 1 probe on an input line and 1 probe on the output line I could see the ROM reads were working on the 68000 side of the bus, but absolutely nothing made it through to the BIOS Z80 side.

20180913_083606

20180913_073240

20180913_083551

A vintage Genesis was sourced as a donor, only the early revisions contained the 513-5309 chip (must say ‘High Definition’ on the front and have a ‘long’ FCC ID number) – the chip was swapped and the rare MegaTech was perfect again.  (The early Genesis has a handful of other parts useful for System 18 repairs also).
 

20180913_074914 20180915_111400 20180915_111524(0)


By

Konami GT arcade pcb repair

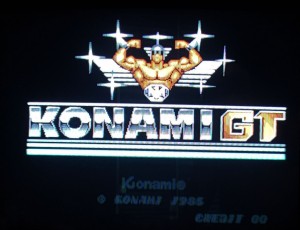
Game would boot to a corrupt screen then reset.  Comparison to MAME suggested it was trying to draw the ROM check screen, so it was possible the RAM used for the screen itself was bad and the reason for the corruption.

20181024_182836

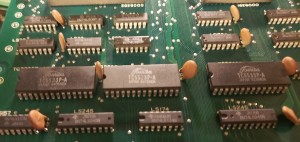
The game has 3 TC5535P-A RAM chips on the video board – I held the 68000 CPU in reset so I could use a logic probe on the RAM without worrying about writes getting in the way.  It was obvious one of the chips had a very weak data output so it was replaced and everything worked.  The TC5535 actually seems to be quite a rare chip now – luckily I had a spare from a Nintendo VS board.

20181025_074606

20181026_081025

20181026_081101


By

Atari Gauntlet arcade pcb repair & dual boot

    Gauntlet 1 PCB

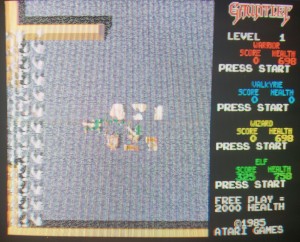
Initially booted with corrupt sprites – certainly drawing as the wrong width – then subsequent boots showed no sprites at all.

20181120_134221

I went through the ROMs and PROMs to reseat everything and a problem was soon obvious – 136037-103 had previously been inserted with the power pin bent outside the socket – a weird fault but when restored everything was 100%.

    Gauntlet 2 PCB

Game played but with corrupted graphics most noticeable on the title screen and test mode. The graphics in Gauntlet are 4 bits per pixel, with each plane stored in a separate ROM. By removing ROMs one at a time it became clear the corruption was on plane 0 only. With the ROM at 1A removed although the title screen had wrong colors there was no more noise or corruption. My initial thought was this ROM had failed – but it tested ok off the board, and a replacement ROM showed the exact same fault. Next to check are the two custom chips next to the ROMs – these are identical and process a pair of planes each. I swapped the two chips but the fault stayed on plane 0 rather than move to plane 2.

20181120_192047

I then used a scope on the data pins of the 1A socket and found D7 was noisy whereas D0-D6 were clean (held high by the pullup resistor pack). It seems the ROM at 1C was emitting noise onto the bus even though it wasn’t enabled – with that ROM replaced everything was good.

    Dual Boot

The dual boot process is well documented on the Gauntlet site at ionpool – http://www.ionpool.net/arcade/gauntlet/main.html

In case that site ever goes down the process is quite simple as Gauntlet 1 & 2 are essentially the same board and already share some ROMs. For the ROMs that differ – 4 graphics ROMs, alphanumeric ROM, 4 program ROMs, 2 sound ROMs and the settings eeprom – the idea is you replace each with one that is double the size. Then you put the Gauntlet 1 data in the ‘low’ half of the ROM, and Gauntlet 2 in the ‘upper’ half – now by pulling the top address line either low or high you can force one game or the other. You can install double stacked sockets to achieve this, but I went for the simpler route of just pulling the relevant pins outside the sockets and running patch wire between them.

20181122_154959

20181124_124928


By

Atari Centipede arcade pcb repair

The failed AR2 power/amp unit for this cabinet was rebuilt and tested fine but the logic board had also developed a graphics fault.  The test mode gave some clues as to what was going on as the character test only displayed odd numbered characters (A C E G).  This suggested the low bit of whatever selected the character was stuck.  The screen full of A’s was because the space/blank character was stuck as an A also.

20181101_082255

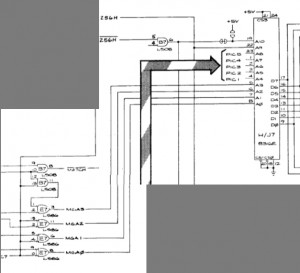
I used MAME to clarify the layout of the character ROM – each character is 8×8 pixels in size and each row of 8 bits is stored as a byte, then 8 sequential bytes for the 8 rows.  So 8 bytes a character means 3 address lines (2 to the power 3 is 8), or A0-A2.  That means that if every alternate character in the range was bad, the next highest address line or A3 is the place to look.

centi

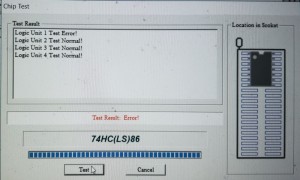
The addresses track back from the ROM to a LS86 at E7 – this was removed from the board and tested – and yep, it had failed in exactly 1 bit.  When replaced with a new chip the game was fine.


20181108_194634

By

Taito Elevator Action arcade pcb repair

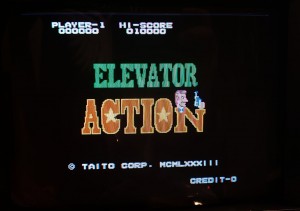
Game ran and played but with corrupt graphics. I was able to swap the top ROM board with a known working one which made no difference which meant the fault was either on the CPU board (which puts the data into VRAM as well as the addressing of the tilemaps), or on the video board (which uses the VRAM output as well as holding the 6 VRAM chips themselves).

20190101_222913

In fact this turned out to be a simple repair – one of the VRAM chips was bad with an address bus fault – so it was just putting out data for the wrong address over the top of everything. With new VRAM installed everything was fine.

20190102_194413

20190102_191809

20190102_194355

By

Konami TMNT arcade pcb repair #2

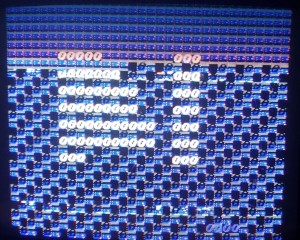
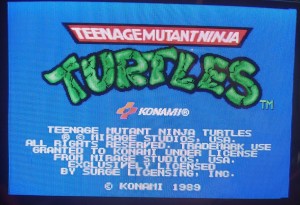
When I saw the check screen was literally cut down the middle with garbage, I suspected an addressing problem.

20190116_182032


20190116_184229

20190116_182914

First up I checked the connections between the 052109 tilemap custom and the 2 6264 RAM chips.  Everything was good there.  Next up I checked the addressing from the CPU to the custom – this goes through 2 LS245 latches @ E24 and F24.  A logic probe showed A6 was totally dead – it had no continuity back to the CPU.  A kynar wire patch was added under the board and everything was perfect again.  I couldn’t actually find any scratched traces, so may have been a corroded thru-hole underneath a chip.

20190117_081716

20190117_081721


By

Sega Columns arcade pcb repair

No boot with black screen, logic probe showed the 68000 CPU was stuck in halt mode. Piggybacking known good RAM over the TMM2063 chips next to the 68000 CPU allowed it to boot though with bad colors.

Piggybacking known good 6116 compatible RAM over the palette RAM in the middle of the board fixed the colors.  These 3 RAM chips were then replaced and game was perfect.

20181128_122551 (1)

20181128_122500