What’s in a frame?
A lot of people use Unity and Unreal rather than a bespoke renderer these days, and that’s fine, it all depends on what you need. I thought it might be interesting to show how a graphics frame in a modern game is put together piece by piece and talk about relative performance. This is in the bespoke Octane engine but the same principles apply to most engines. As ever, even if you are using Unity or Unreal, understanding what’s going on ‘under the hood’ can aid performance work in particular, as well as debug problems. In this particular example it was important to hit 60 frames per second on a particular piece of hardware, so some of the choice below are trade-offs where visual quality was reduced in order to render the frame with 16.67ms.
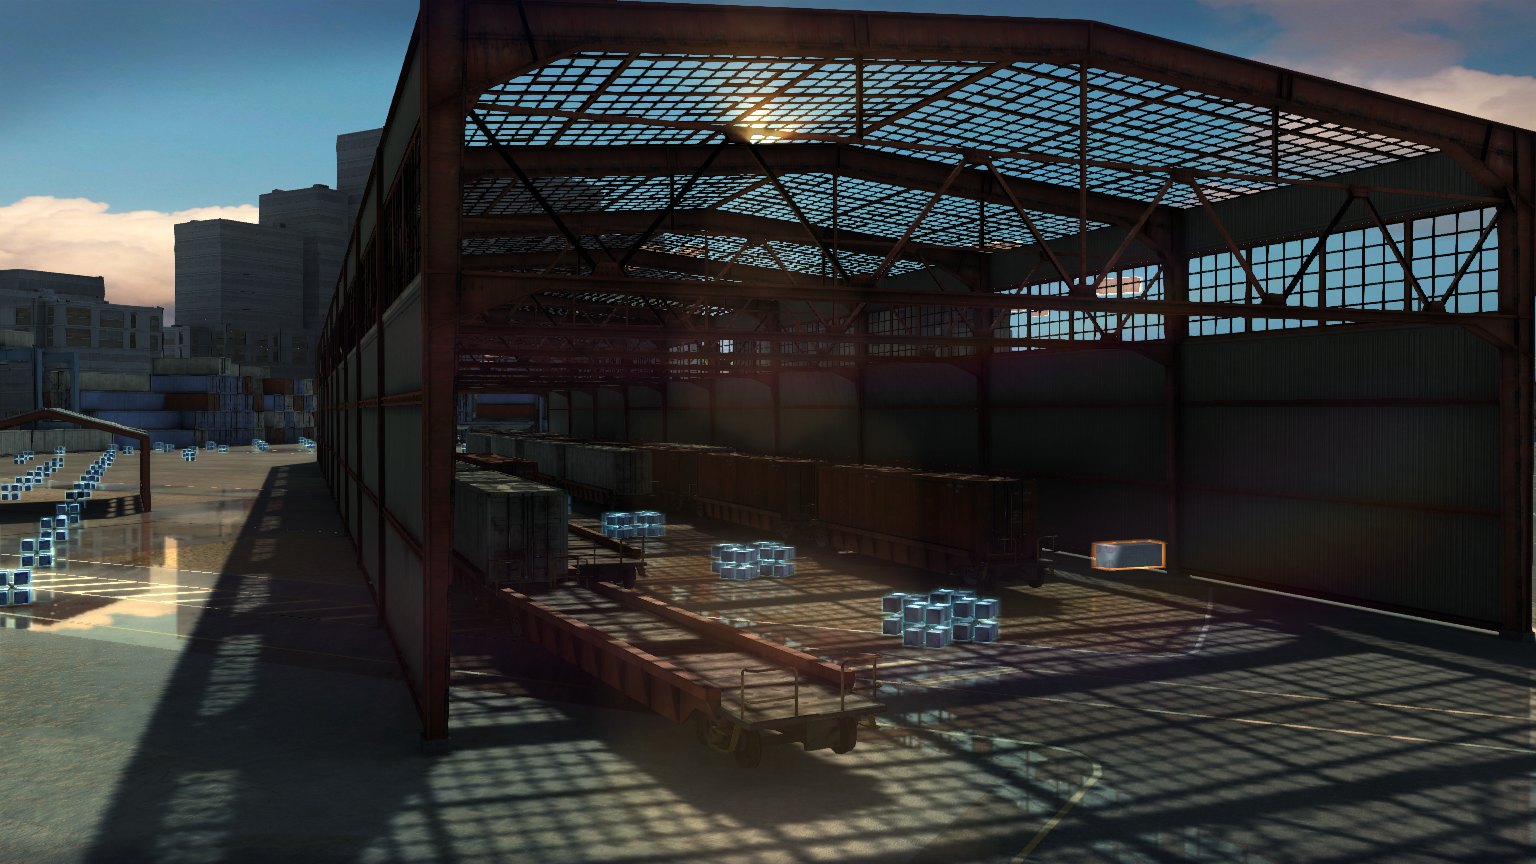
Here is the frame I’ll talk about, though I’ve chosen one without any player elements. In general terms the objects are shaded with a physically based shading model and most of the objects on screen here are also prelit with RNM lightmaps.
The first thing that happens are shadow cascade renders. I chose two sets of three cascades – the first set is a shadowmap that applies to dynamic, moving objects – so this cascade must contain all the static casters as well as dynamic caster objects. The second set is for moving dynamic objects casting onto static objects – this is much cheaper as the static casters do not need to be rendered (as those shadows come from the pre-baked lightmaps). The shadowmap method is based on variance shadow-mapping, and I use the little trick of packing 4 shadowmaps onto the one larger texture and using a transform to reference the correct cascade from the shader. The shadows are a good example of trade-offs between performance and visual – I can ramp up to 8 cascades (via the atlas packing) or down to 1 or 2, and small object culling (via projected screen-size) is important to lessen the amount of draw calls so that tiny objects don’t cast shadows far away. The dynamic object shadowmap is set to a 2048 texture, and the static one 4096. Even with this shadows are still expensive, and this phase can take 3-4ms to render.

3 shadow cascades packed to 1 atlas
Next up I render a depth pre-pass for the main scene – I don’t have a screenshot for this, but if you aren’t familiar with the technique then you render all your opaque objects with a cheap shader that just writes to the depth buffer, not any frame buffer. Then when you render expensive shaders later, any overdrawn parts will be rejected by depth test (or early Z) and you save pixel fill-rate. In order to really optimize this step I do extra processing in the build pipeline for the models – all opaque meshes under a node are combined into a new single mesh containing only positions (no material splits are needed if using a depth only shader, nor normals or uvs), this mesh then gets it’s own vertex re-ordering to make best use of the vertex processor cache. On average this takes 1 – 1.5ms, but it can save 5-10ms from the next stage.
For the main scene, I used a hybrid deferred approach that I suspect is quite different from other games – 90% of lighting is done in a forward render pass. There is a still a g-buffer, which stores normals, albedo, roughness, specular, depth and objects id’s, but these buffers are mainly used for post-processing and some incidental lights composited onto the main scene. The reason for this is the scene is lit by the sun so there is only a single directional light, and some of the benefits of the forward render are that I don’t have to light alpha separately and special shaders such as car paint, skin and water can be integrated without having to pack all sorts of special info into the g-buffer. Now, of course, I’m not suggesting this is the solution for every scenario – it’s definitely not, you would never do a night-time first person shooter like this where you have a need for far more lights, it’s just one of many possible approaches to solve a particular problem within a particular performance constraint.

Normal and albedo g-buffer
The ‘opaque’ section of the render takes about 8-10ms – the shaders are massively heavy in terms of texture bandwidth. A common shader type is what I call ‘PBR Decal’ – where you have a base albedo, roughness, specular (or metal), normal and ao map, but also a ‘decal’ albedo, roughness and spec that is blended in via an alpha channel and second UV set. This is great for artists to blend in dirt and details over base materials in a single pass and break up repetition, but it does mean 8 texture reads. To that are added radiosity lightmap reads for both direct light and indirect light (using the Halflife 2 basis), plus cubemap reads for PBR specular (used pre-blurred cubemaps for roughness), plus the dynamic shadow cascades (which for most objects use a 3 pixel radius for the blur sample – so 81 shadowmap samples!).

PBR Decal texture inputs
[The 'red' textures above are actually monochrome BC4 format to save memory, they are just rendered from the red channel in example above].
At the end of the opaque section, although obscured in this screenshot, there is an ocean simulation, the first part uses compute shaders to update the simulation, and the second actually renders to the screen. The water is deliberately drawn last to take more advantage of early z rejection from the other opaque meshes. Opaque objects intersecting the water are alpha composited later on using the stencil buffer to mask out the water pixels.

Water simulation
Following the opaque section, the Nvidia HBAO technique is used to provide dynamic ambient occlusion based on the depth buffer. It’s a great effect and works well, though depending on the quality settings it can take up to 2ms.

HBAO buffer
Further deferred lights, alpha meshes, particles, etc, are then composited onto the scene as required. This is usually a pretty cheap step.
The frame-buffer then goes through some post-processing – FXAA anti-aliasing (tuned down to 0.5ms), god rays, lens flare and streak flare filter (up to 1ms), velocity motion blur (not seen here, but around 0.5ms), and some cheap color grading.
")
Godray blur (mostly occluded)

Lens flare
Hopefully after all that the frame is complete within 16.67 milliseconds! If not some of the quality (number of samples usually) has to be traded off for performance.
Recent Comments