BryanMcPhail.com

Professional software development, amateur BMW tinkering, old arcade game stuff

By

What’s in a frame?

A lot of people use Unity and Unreal rather than a bespoke renderer these days, and that’s fine, it all depends on what you need.  I thought it might be interesting to show how a graphics frame in a modern game is put together piece by piece and talk about relative performance.  This is in the bespoke Octane engine but the same principles apply to most engines.  As ever, even if you are using Unity or Unreal, understanding what’s going on ‘under the hood’ can aid performance work in particular, as well as debug problems.  In this particular example it was important to hit 60 frames per second on a particular piece of hardware, so some of the choice below are trade-offs where visual quality was reduced in order to render the frame with 16.67ms.

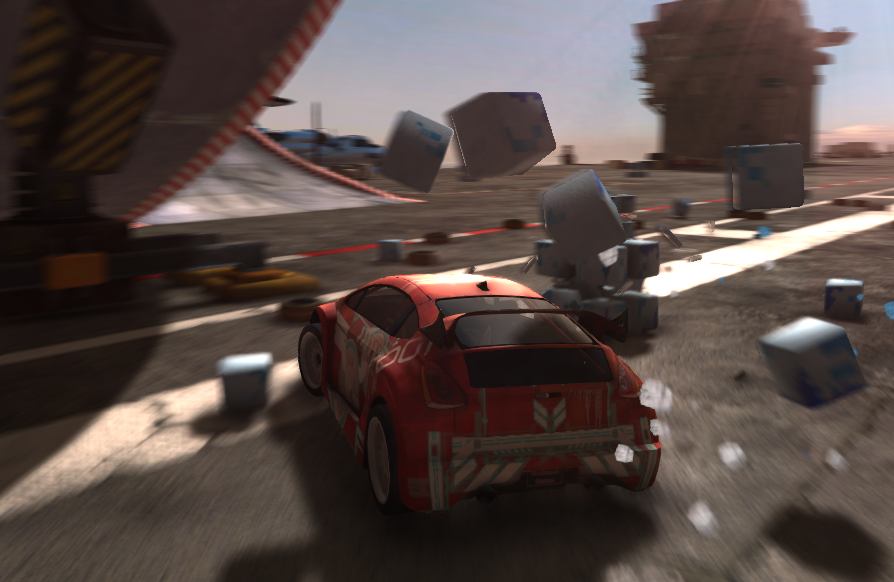
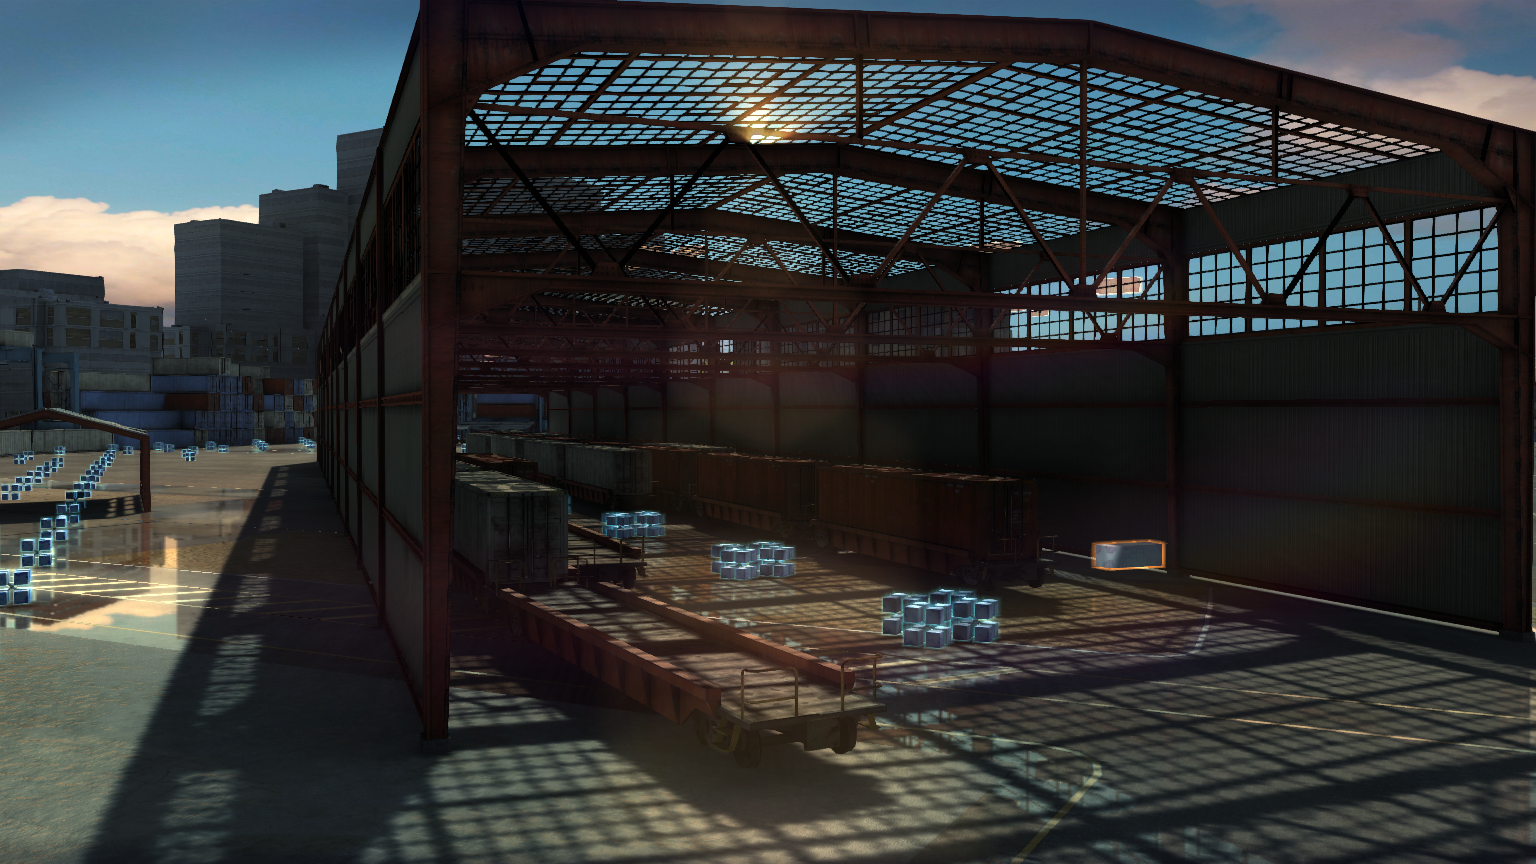
Here is the frame I’ll talk about, though I’ve chosen one without any player elements.  In general terms the objects are shaded with a physically based shading model and most of the objects on screen here are also prelit with RNM lightmaps.

shot2

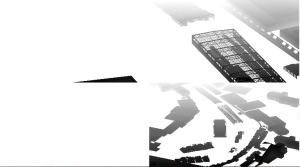
The first thing that happens are shadow cascade renders.  I chose two sets of three cascades – the first set is a shadowmap that applies to dynamic, moving objects – so this cascade must contain all the static casters as well as dynamic caster objects.  The second set is for moving dynamic objects casting onto static objects – this is much cheaper as the static casters do not need to be rendered (as those shadows come from the pre-baked lightmaps).  The shadowmap method is based on variance shadow-mapping, and I use the little trick of packing 4 shadowmaps onto the one larger texture and using a transform to reference the correct cascade from the shader.  The shadows are a good example of trade-offs between performance and visual – I can ramp up to 8 cascades (via the atlas packing) or down to 1 or 2, and small object culling (via projected screen-size) is important to lessen the amount of draw calls so that tiny objects don’t cast shadows far away.  The dynamic object shadowmap is set to a 2048 texture, and the static one 4096.  Even with this shadows are still expensive, and this phase can take 3-4ms to render.

3 shadow cascades packed to 1 atlas

3 shadow cascades packed to 1 atlas

Next up I render a depth pre-pass for the main scene – I don’t have a screenshot for this, but if you aren’t familiar with the technique then you render all your opaque objects with a cheap shader that just writes to the depth buffer, not any frame buffer.  Then when you render expensive shaders later, any overdrawn parts will be rejected by depth test (or early Z) and you save pixel fill-rate.  In order to really optimize this step I do extra processing in the build pipeline for the models – all opaque meshes under a node are combined into a new single mesh containing only positions (no material splits are needed if using a depth only shader, nor normals or uvs), this mesh then gets it’s own vertex re-ordering to make best use of the vertex processor cache.  On average this takes 1 – 1.5ms, but it can save 5-10ms from the next stage.

For the main scene, I used a hybrid deferred approach that I suspect is quite different from other games – 90% of lighting is done in a forward render pass.  There is a still a g-buffer, which stores normals, albedo, roughness, specular, depth and objects id’s, but these buffers are mainly used for post-processing and some incidental lights composited onto the main scene.  The reason for this is the scene is lit by the sun so there is only a single directional light, and some of the benefits of the forward render are that I don’t have to light alpha separately and special shaders such as car paint, skin and water can be integrated without having to pack all sorts of special info into the g-buffer.  Now, of course, I’m not suggesting this is the solution for every scenario – it’s definitely not, you would never do a night-time first person shooter like this where you have a need for far more lights, it’s just one of many possible approaches to solve a particular problem within a particular performance constraint.

Normal and albedo g-buffer

Normal and albedo g-buffer

The ‘opaque’ section of the render takes about 8-10ms – the shaders are massively heavy in terms of texture bandwidth.  A common shader type is what I call ‘PBR Decal’ – where you have a base albedo, roughness, specular (or metal), normal and ao map, but also a ‘decal’ albedo, roughness and spec that is blended in via an alpha channel and second UV set.  This is great for artists to blend in dirt and details over base materials in a single pass and break up repetition, but it does mean 8 texture reads.  To that are added radiosity lightmap reads for both direct light and indirect light (using the Halflife 2 basis), plus cubemap reads for PBR specular (used pre-blurred cubemaps for roughness), plus the dynamic shadow cascades (which for most objects use a 3 pixel radius for the blur sample – so 81 shadowmap samples!).

PBR Decal texture inputs

PBR Decal texture inputs

[The 'red' textures above are actually monochrome BC4 format to save memory, they are just rendered from the red channel in example above].

At the end of the opaque section, although obscured in this screenshot, there is an ocean simulation, the first part uses compute shaders to update the simulation, and the second actually renders to the screen.  The water is deliberately drawn last to take more advantage of early z rejection from the other opaque meshes.  Opaque objects intersecting the water are alpha composited later on using the stencil buffer to mask out the water pixels.

Water simulation

Water simulation

Following the opaque section, the Nvidia HBAO technique is used to provide dynamic ambient occlusion based on the depth buffer.  It’s a great effect and works well, though depending on the quality settings it can take up to 2ms.

HBAO buffer

HBAO buffer

Further deferred lights, alpha meshes, particles, etc, are then composited onto the scene as required.  This is usually a pretty cheap step.

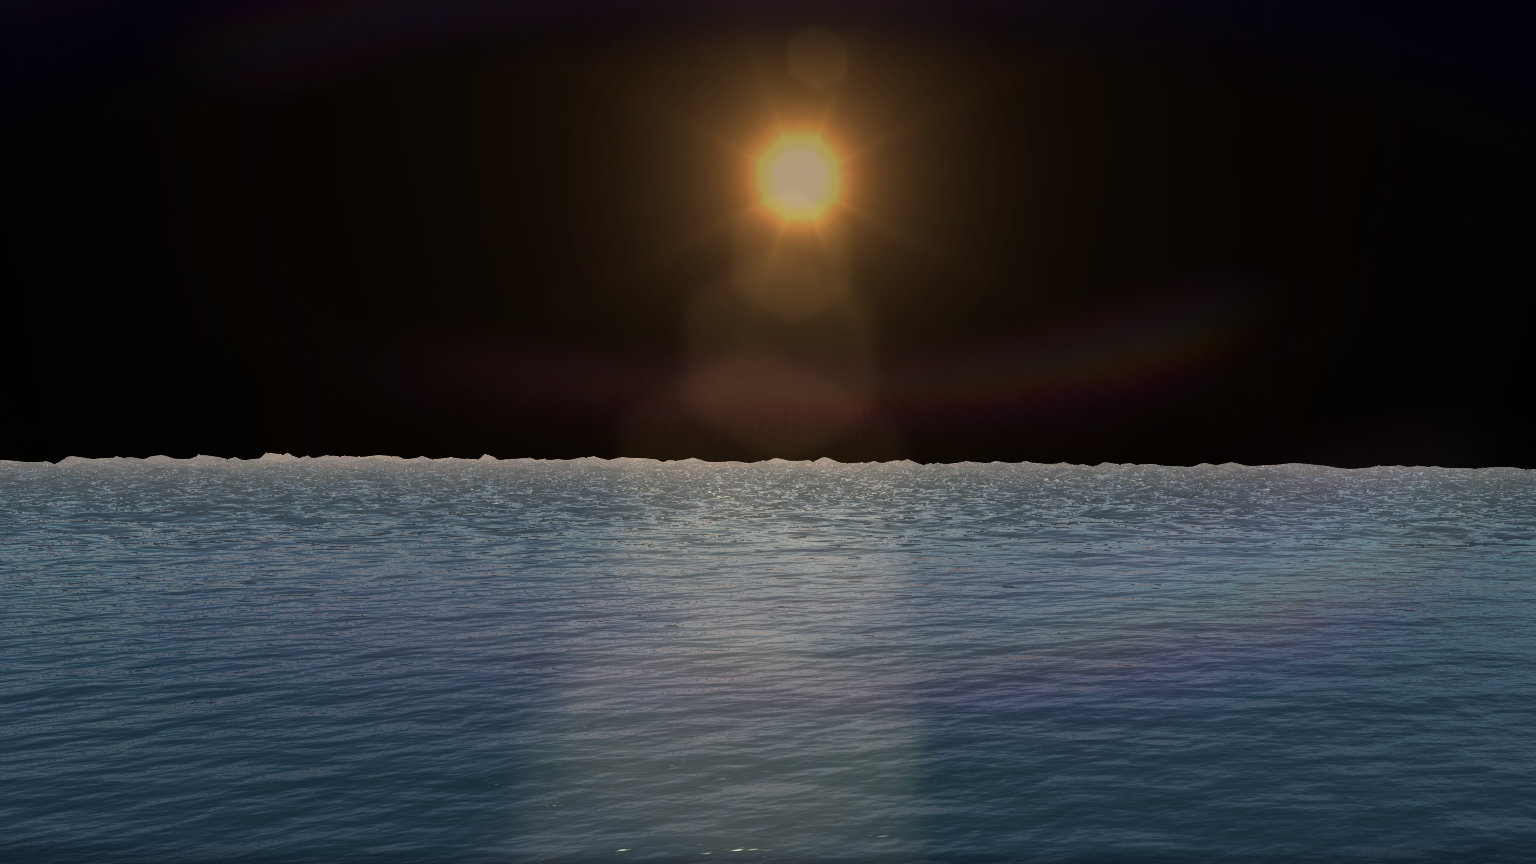
The frame-buffer then goes through some post-processing – FXAA anti-aliasing (tuned down to 0.5ms), god rays, lens flare and streak flare filter (up to 1ms), velocity motion blur (not seen here, but around 0.5ms), and some cheap color grading.

Godray blur (mostly occluded)

Godray blur (mostly occluded)


Lens flare

Lens flare

Hopefully after all that the frame is complete within 16.67 milliseconds!  If not some of the quality (number of samples usually) has to be traded off for performance.
shot2

By

Old school shadow map method

Cascaded shadow maps have been the de-facto choice for games for many years, certainly for most of the PS3/Xbox 360 era and a few titles before that.  However, CSM has never been perfect, far from it, the biggest problems are it uses a lot of memory as to get good quality shadows on a 720p screen you generally need the biggest cascade to be a 2048×2048 texture, or 4096 for 1080p.  Many meshes will be present on multiple cascades, so you have a heavy draw call cost.  When rendering the shadow objects, in order to smooth the shadow edges you have to make a lot of samples in order to perform a blur (my current PC engine has quality presets for shadow samples count from 25 to 81 per pixel based on blur kernel size).

Now on PS4/Xbox One/PC that’s all fine, it’s still the best overall choice, but on low to medium mobile and on devices like the 3ds, you may end up with quite low visual quality when you scale back the buffer sizes and samples for performance reasons.

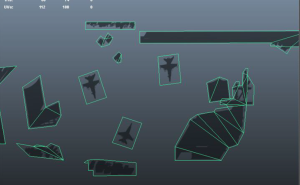
An alternative method I used on Hot Wheels Track Attack on the Nintendo Wii and several subsequent Wii and 3ds games was a top down orthographic shadow projection.  For prelit static shadows a mesh is created by artists in Maya with the shadow/light maps as textured geometry.  Solid vertex coloured geometry is also possible.  This is rendered to an RGB buffer in-game, initialized with a white background, from an orthographic camera pointing straight down around the area of interest.  The dynamic objects can then reference this texture using their XZ world positions only and multiply the texture RGB against the object output RGB.  This sounds pretty crude, and it is!  However, the Wii and 3ds don’t have programmable pixel shaders so it was important the shadow method could be achieved in their fixed function pipelines.

Pre-baked mesh in Maya

Pre-baked mesh in Maya

Crudeness aside, you can achieve really high quality shadows onto dynamic objects with this method because you can not only pre-blur all your shadows and bake them at a high resolution, you can use coloured shadows (for example, light cast through coloured glass).  It’s also very cheap to light particles with this method.  You can mix dynamic objects with static by also rendering the dynamic objects to the buffer after the static, or by having two buffers and merging them later.  You can also aim for a very low number of draw calls, especially by merging and using texture atlases in the art side.

There are some clear downsides to this method – there is no self-shadowing, so an object can never cast onto itself, there are also artifacts on vertical surfaces as the Y component is ignored in the projection so essentially you a get a single sample smeared all the way down.  You also have to be careful of the height (in Y) that you position the ortho camera at, if any objects pop above this level then will be incorrectly shadowed.  If using multiple buffers (perhaps per object of interest) be aware that render target changes can be expensive on PVR type hardware (iOS).

As always though graphics is about trade-offs and in some applications you might still find a use for this technique, especially fast moving games.

Hot Wheels Track Attack (Wii, 2010)

Hot Wheels Track Attack (Wii, 2010)

Tech Demo (2010) showing particles shadowed by XZ projection

Tech Demo (2011) showing particles cheaply shadowed by XZ projection

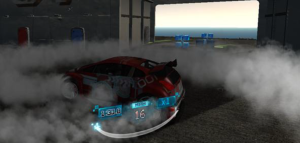
Tech Demo (2011).  A 512x512 shadow buffer is used for the car but the visual quality is high.  Also note that despite the XZ projection, Y artifacts are barely noticable

Tech Demo (2011). A small 512×512 shadow buffer is used for the car but the final visual quality is high. Also note that despite the XZ projection, Y artifacts are barely noticable


By

Blending against deep water

Below I’m going to talk about a cheap technique for blending objects against ‘deep’ water.  If you’ve never had to do this, then you might wonder what the problem is – you just render the water with alpha blending on right?  Well, no, because if you have an intersecting object it should ‘fade out’ the deeper into the water it is, to simulate less light bouncing out out from under the water surface.  A regular alpha blend would give you a uniform alpha level under the surface which would look strange.

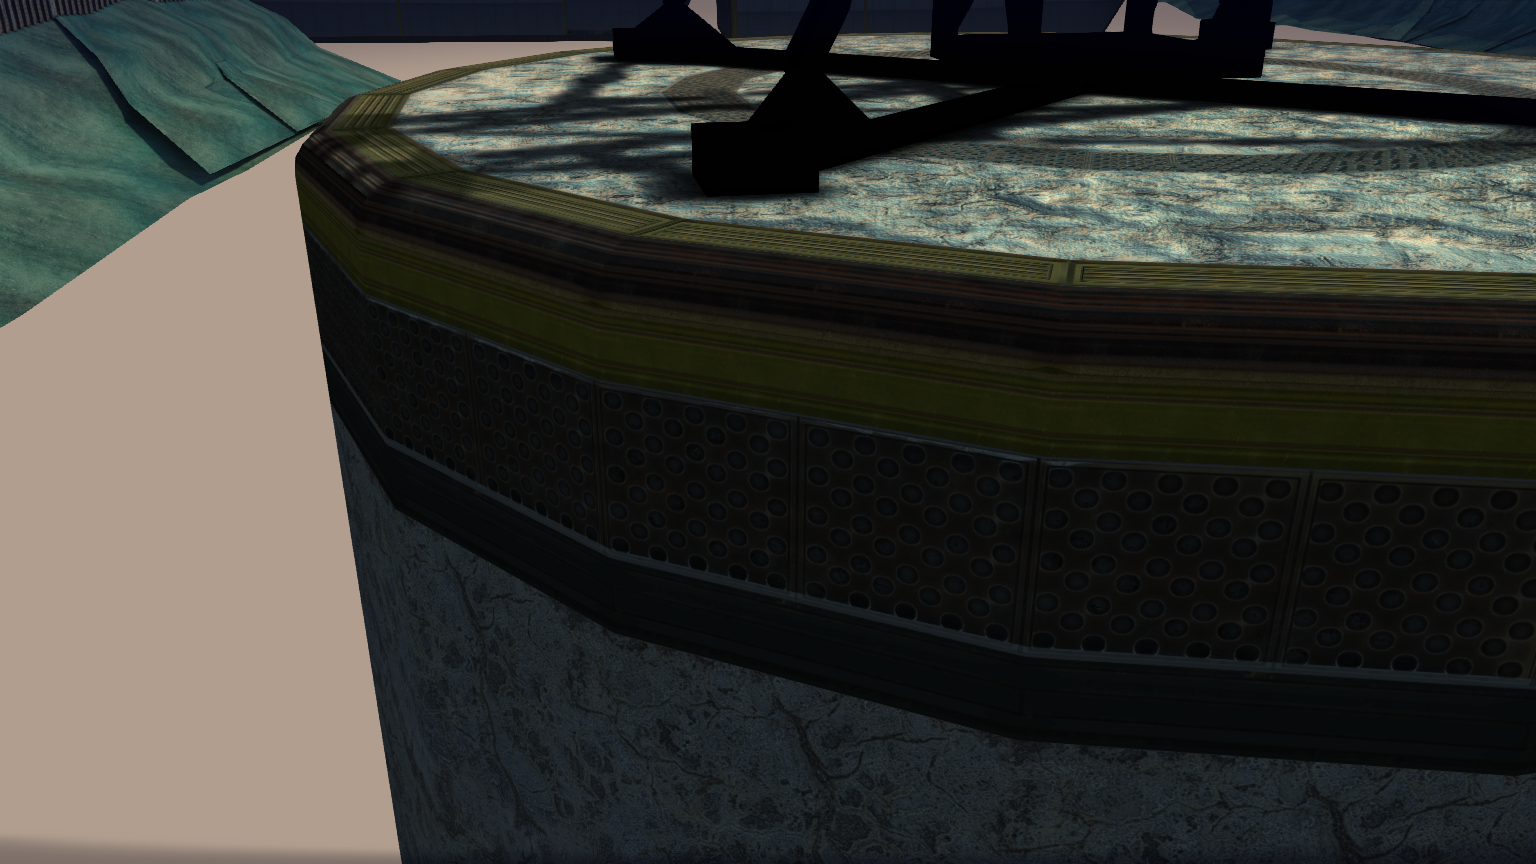
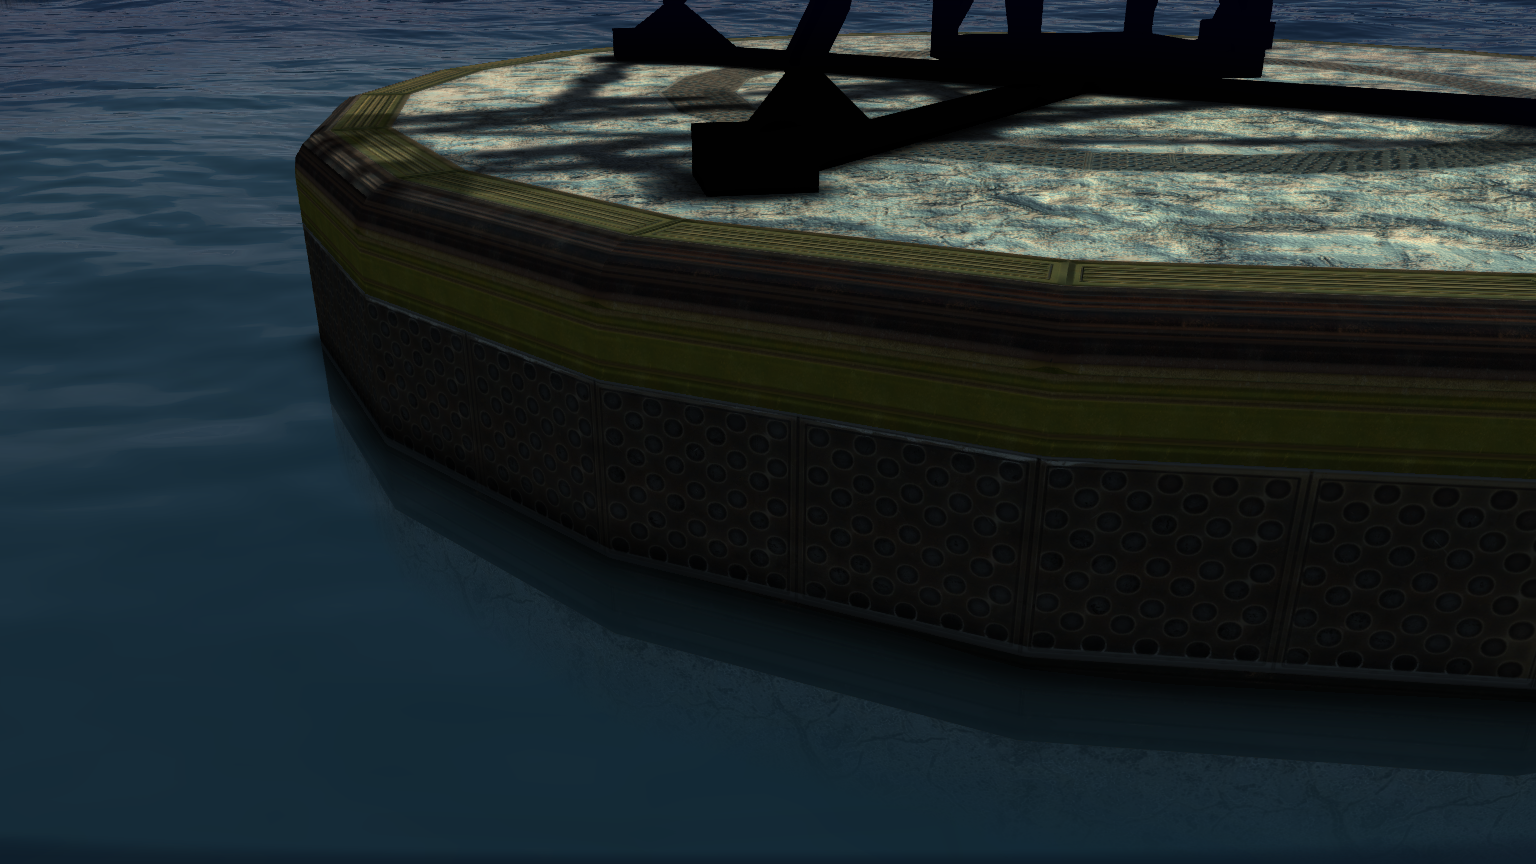
So a technique you can use with both deferred and forward rendering, is to render your water as the very last thing in your opaque section, and use the stencil buffer to identify water pixels and non-water pixels.  In the example below I’m using 1 (essentially black) to tag water pixels (which have animated vertex waves so it’s not just a flat plane) and 32 to identify my non-water meshes.  You then re-render your intersecting meshes with alpha-blend on, and the stencil buffer set to reject any pixels that do not equal the water (value 1).  The shaders for this pass are modified to compute alpha based on the world space height, so the deeper below the water the pixel is the lower the alpha blend value.

float ComputeWaterStencilAlpha(float _y)
{
   return 1.0 - saturate((g_waterStencilParams.x - _y) * g_waterStencilParams.y);
}

I use a few tweakables as above so the alpha fall-off can be easily tweaked.  It can also look nice to apply a different fog set to the intersecting meshes, to tint the underwater objects a darker blue.  Although you pay the vertex cost for the second pass on these intersecting meshes you only pay the pixel cost for the pixels actually under the water as the stencil buffer rejects everything else.  If you want to gain some visual quality at some more cost, the instead of rendering the intersecting meshes to the framebuffer, render to an offscreen buffer (with destination alpha) and then you can composite that render target to the framebuffer, again using the stencil buffer as a mask.  With that method you can easily add caustics and fake refractions into the compositing shader.

No blending

No blending


No water

No water


Stencil Blending

Stencil Blending


Stencil Buffer

Stencil Buffer

By

Velocity Blur

Per pixel velocity blur by reconstructing world space before and after positions using the depth buffer was I technique I first noticed in GPU Gems 3.  http://http.developer.nvidia.com/GPUGems3/gpugems3_ch27.html

I suspect some people will say this method has no place in modern rendering, but I don’t have much time for comments like that – this, and other old school techniques, are still very valid and useful in certain situations and can often offer a performance benefit over more ‘correct’ techniques.  In particular as mobile devices become more powerful rendering techniques from PS3/360 come around again.

blur2


The technique works as a post process which requires the depth buffer as input as well as the rendered frame buffer.  The projected (screen-space) X/Y position from 0 to 1 is combined with the depth value for that pixel in the shader.  If we then apply the inverse of the ‘view projection’ matrix for the current frame, we get back a world-space position for the on-screen pixel.  If we then apply the ‘view projection’ used by the camera in the previous frame – we get the screen-space position of where that world-space point was in the last rendered frame.  Now we have a before and after we can compute the 2d direction the pixel traveled over the two frames and we can blur the current frame buffer in that direction to simulate motion blur.  What a neat trick!  Here is a snippet of HLSL that may explain it better:

float sceneDepth = depthTexture.Sample(pointSamplerClamped, IN.uv).r;
float4 currentPos = float4((1-IN.uv.x)*2-1, (1-IN.uv.y)*2-1, sceneDepth, 1);
float4 worldPos = mul(currentPos, g_invViewProjMatrix);
worldPos /= worldPos.w;
float4 previousPos = mul(worldPos, g_viewProjMatrixPrev);
previousPos.xy /= previousPos.w;
float2 velocity = (currentPos.xy - previousPos.xy) * g_velocityBlurParams.xy;

It’s far from a perfect technique though – if you find your ‘before’ position is off-screen then you don’t have correct information along your blur path.  It also assumes everything is blurred based on camera velocity alone.  If an object is travelling at equal velocity to the camera then it should not blur at all, likewise an object travelling towards the camera would be more blurred than it is with this method alone.  The fact the blur is computed in 2d also leads to noticeable artifacts when the camera is rotating and the angular motion is not in the velocity direction.

As I said at the start though, in some cases those restrictions can be worked around and you get the performance benefit of this method versus a per object velocity buffer or other expensive method like geometry fins.  Racing games in particular benefit as the camera is often tracking straight ahead and you can dampen the effect on rotation to lessen artifacts.  In a racing game the camera is also usually locked to the player vehicle – which is travelling at roughly the same velocity as the camera.  In this case you can mask out the pixels covered by the player car so they do not blur at all and have a perfectly in focus player car whilst the landscape blurs.  In DX9 and GLES2 I’ve used a render to texture for the masked objects and passed that as an input to the post-process, but in DX11/GLES3 it can be cheaper to use the stencil buffer to mask out these interesting objects and then pass that to the post-process as in DX11 you can bind a ‘read only’ stencil buffer to the pixel shader whilst keeping it active in the pipeline.

You can also use the stencil buffer for optimization in the post-process – essentially pixels in the sky can be considered ‘infinite depth’ because they are so far away they will never blur based on camera velocity.  So by setting the stencil buffer up as bitfields – sky as 0×80, player as 0×40, dynamic landscape as 0×20, static landscape as 0×10, etc, you can cull all sky pixels and player object pixels by rejecting >=0×40.  This will probably save 50% of the pixel shader cost on average.

blur1