E38 CCFL Angel Eyes
This picture shows the comparison between the stock sidelights (right) and CCFL angel eyes (left) – obviously a much brighter & safer light with CCFL! The stock lights are near useless.

Oct
24
This picture shows the comparison between the stock sidelights (right) and CCFL angel eyes (left) – obviously a much brighter & safer light with CCFL! The stock lights are near useless.
Oct
24
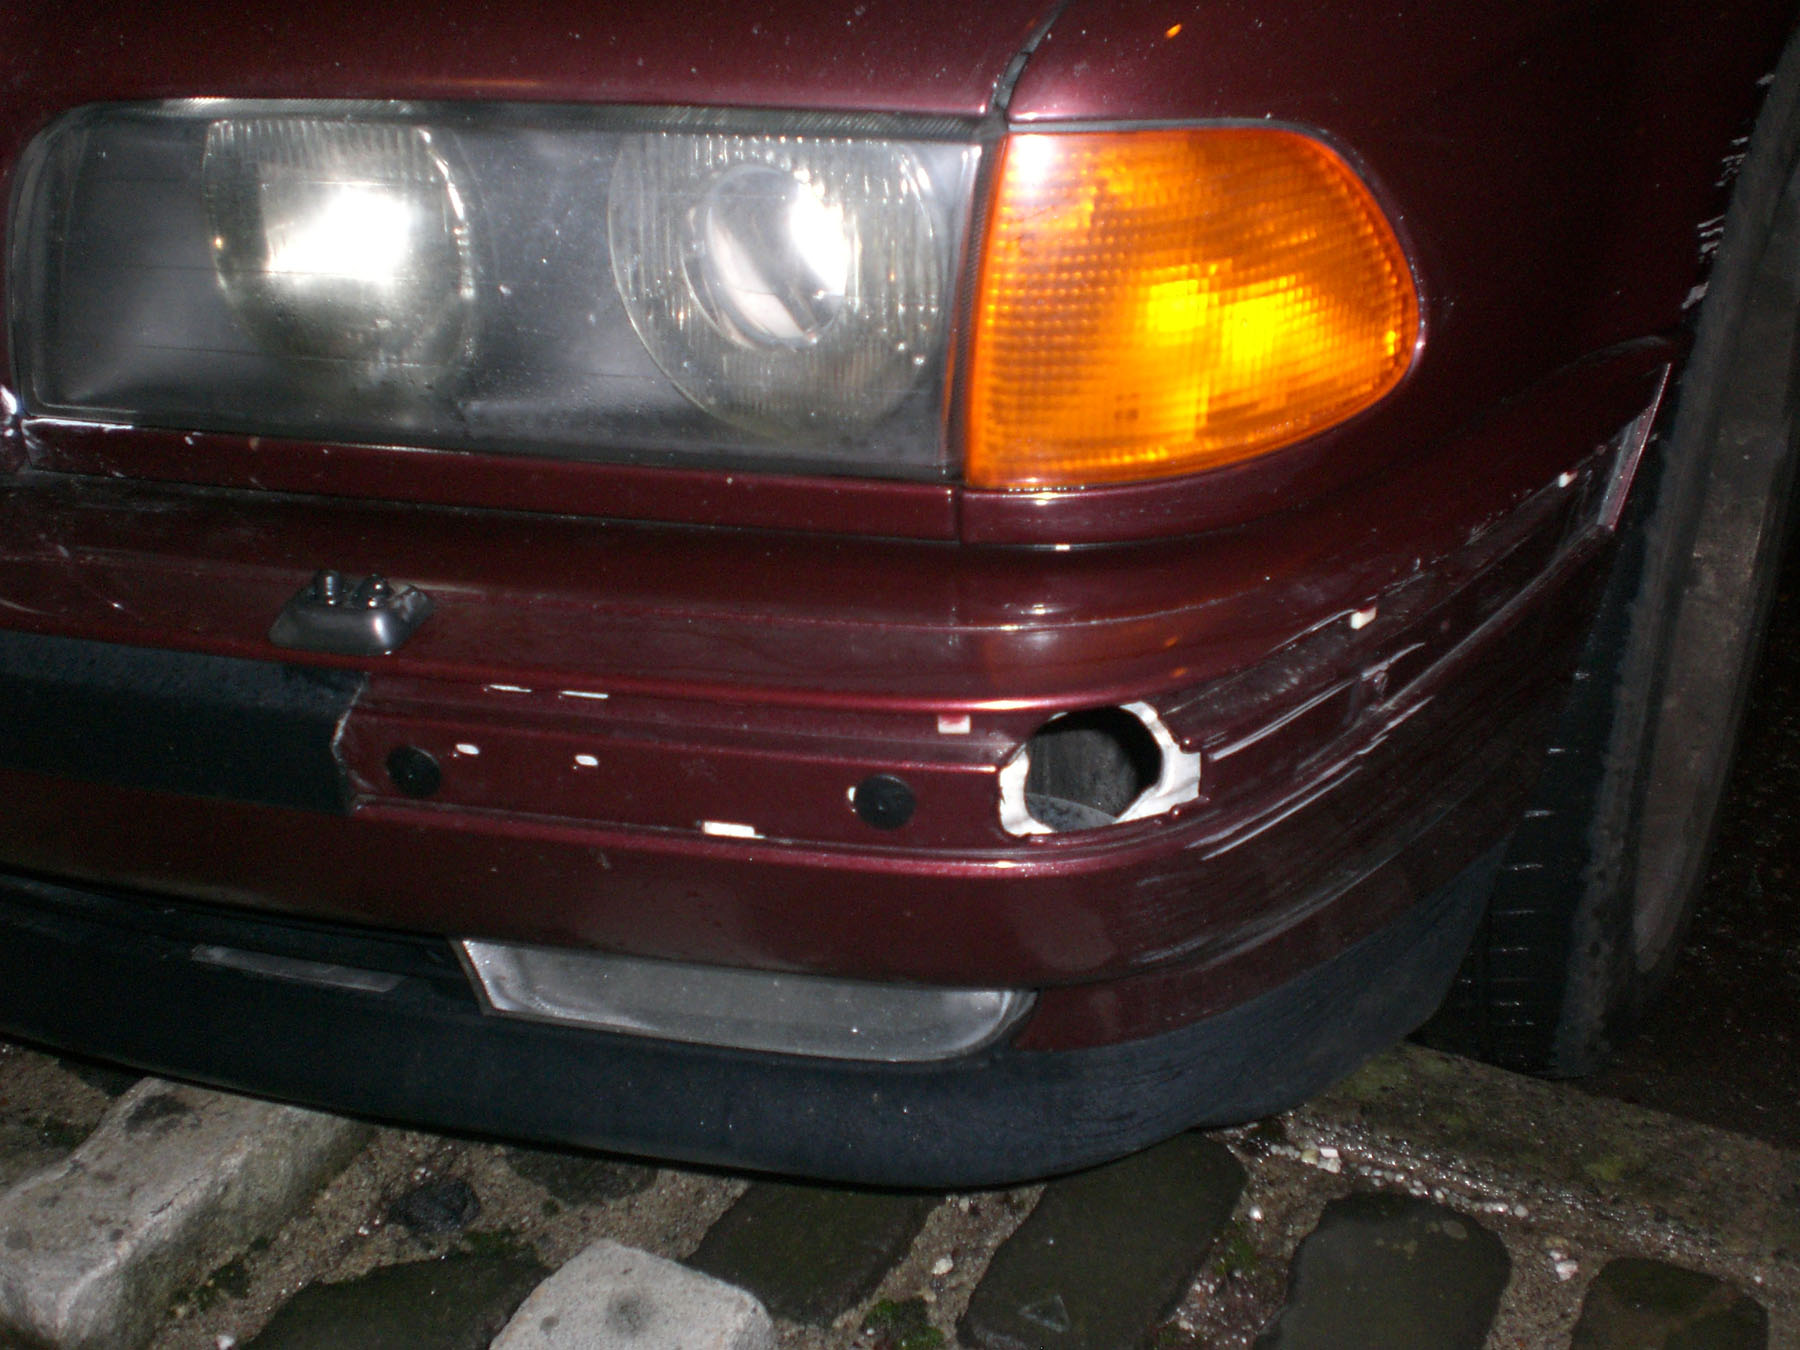
This E38 740i was bought with some damage to the trim on the front bumper and a bit of a scrape. You can buy replacement trim from the dealer, but unfortunately if the car has headlight washers then the entire bumper must be removed as the washer screws into the trim on the inside. Likewise if you need to replace the washer itself.
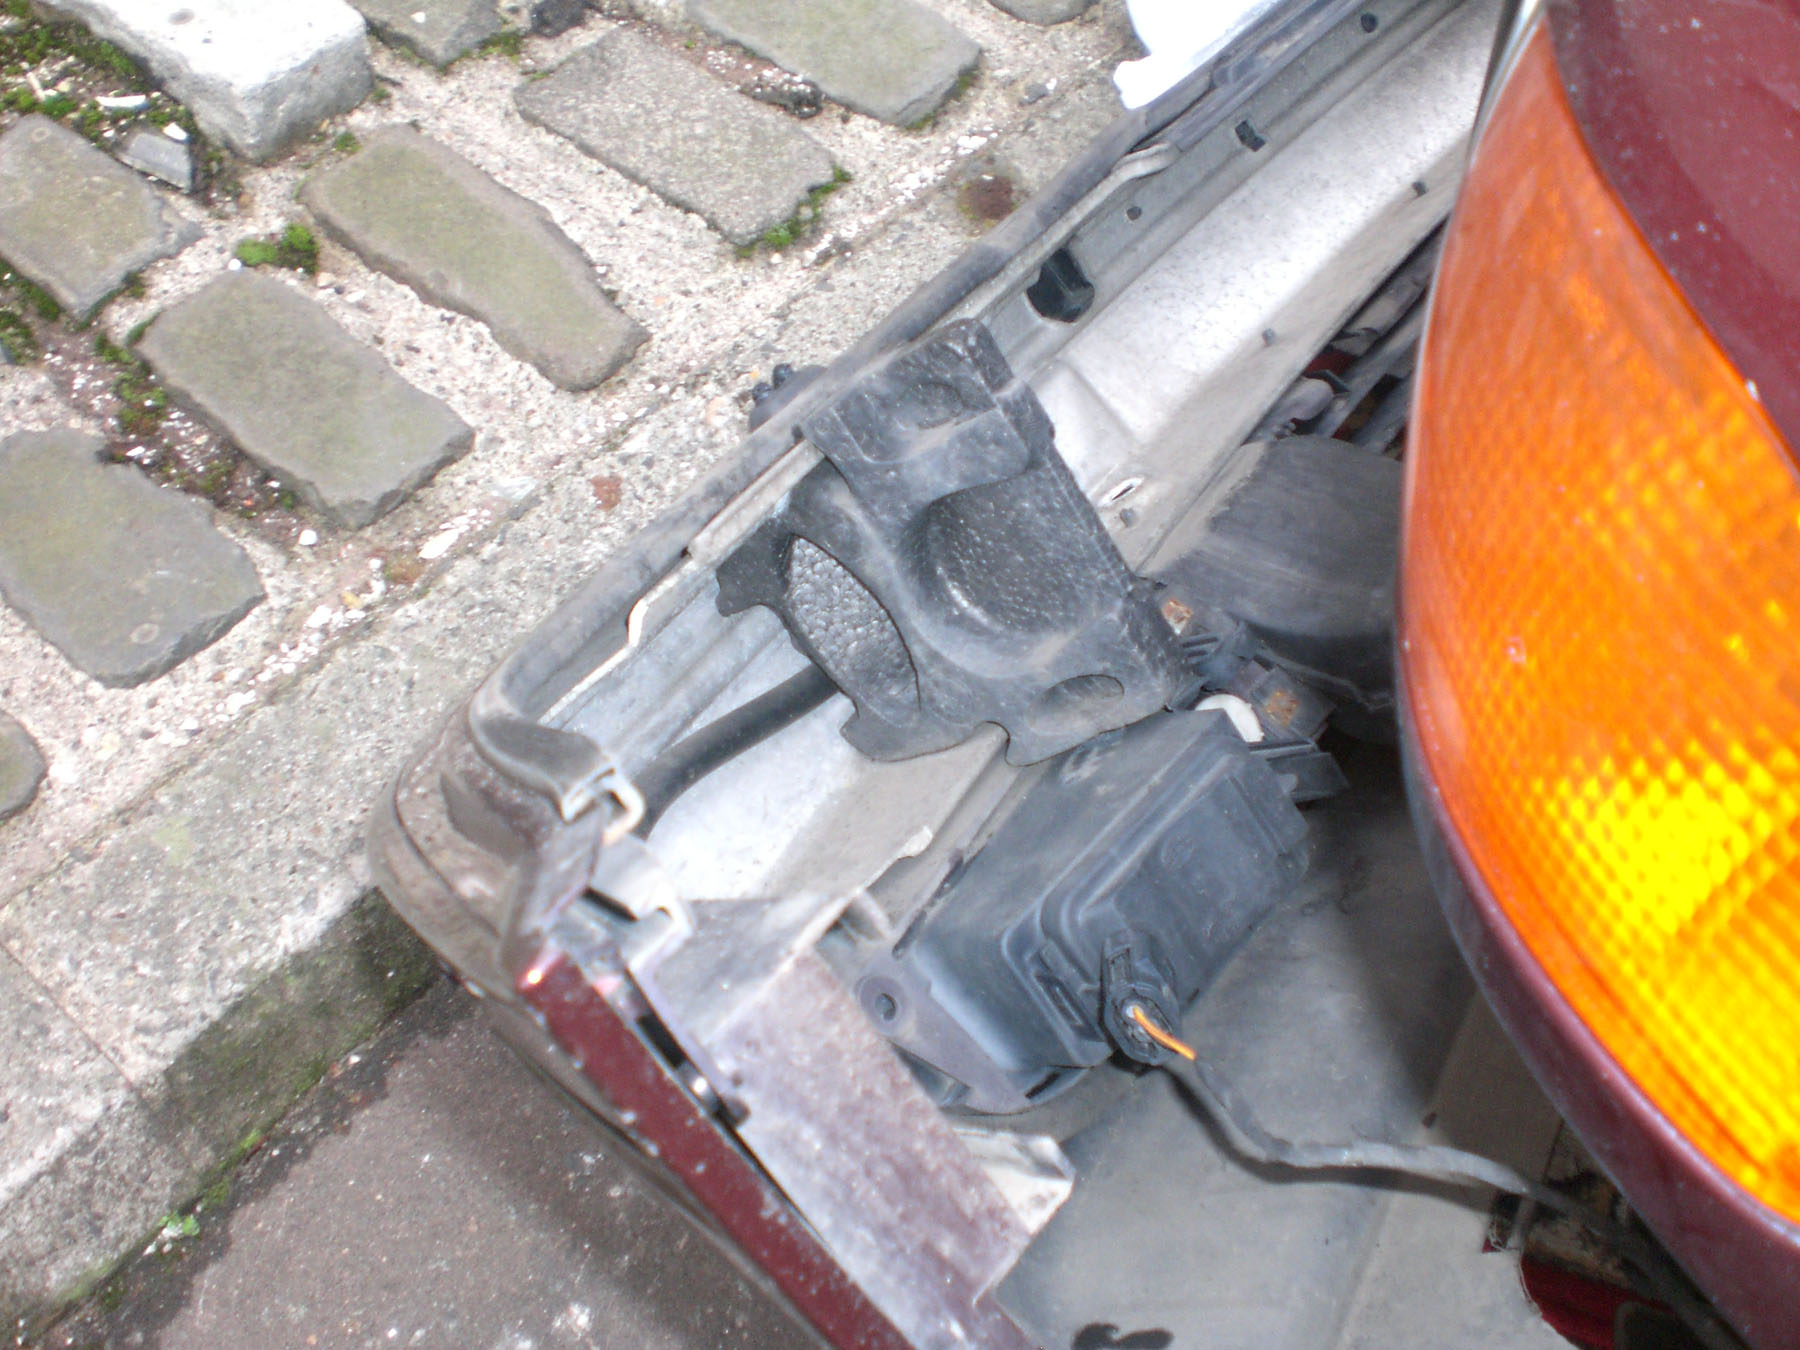
Removal is fairly easy – just unscrew everything on the inside of the wheel wells, then remove the two large Torx T50 bolts at the front on the bottom. You can then gently pull the plastic connectors apart. This can be done by one person, though two would be easier.

All better! An all black grill, CCFL angel eyes, and clear indicators with silvered bulbs were also added in this photo.

Oct
24
Not sure why these pics are so bad quality! This is looking into the rear right wheel well of an E38 750iL with self levelling suspension. The self levelling suspension works via hydraulic fluid going directly into the special shock absorbers. A regulator for the fluid is attached to the rear anti-roll bar, so roll bar deflection leads to suspension height adjustment. The system works at very high pressure so do not mess with it without safety equipment! In this case.. rust had led to pinhole leaks on the pipe that attaches to the shock, so there was no pressure anyway. Replacement is essentially just unbolting old and bolting new, but new to age and rust the old pipe can be very hard to remove. Heat and a c shaped wrench to avoid any chance of rounding off the nuts are essential.
Once re-installed and the CHF fluid topped up the system should bleed automatically. Remember never to use ATF as it can destroy the accumulator sphere lining!


Oct
23
Old photo from around 2009 or maybe 2008 on an E38 740i… This is how a professional garage (shop) apparently does a full brake job. Twisted pipe which will therefore be under extra stress when the front wheels steer, and the bleed nipple cap not on. Brake wear sensor was also missing despite them apparently ordering one specially! Words with the manager were had and I never went back there.


Oct
23
Not much to say here – just an excuse to show the condition of what I assume is the original part of this December 1988 built car in 2012! Just unbolt old arm, 22mm socket, and attach new.

Oct
23
Problem – overall brake performance not great, ‘nothing happens’ for half a second when you want to brake hard. Not good for emergency stops! Car has been like this since I got it, new brake pads didn’t help much. Brake discs are ok.
Suspected culprit – the brake booster pressure accumulator.
Accessing it is super easy – remove front left wheel, remove wheel well trim pieces (8mm bolts), and you can see it. Before going further pump the brake pedal to get as much fluid out.

You need a 17mm ‘c’ wrench to undo the pipes – they are pretty tight and because the bomb is mounted on rubber bushes it’s hard to get good torque on them. I took them by surprise by giving the wrench a good whack with a sledgehammer(!) – worked perfectly 

Two 1/2″ nuts are used for the mounting, these were not tight and easy to get off. Just pull hard on the air duct to remove it and you have easy access to the rear one.
The obligatory shot of the new piece:

Now just pull the pipes, not much fluid should leak, swap the rubber bushes over, mount the new piece, replace the trim. Top up fluid if required (power steering reservoir).
Results – was looking good soon as I started the car – pedal was smooth and not hard like before. Jabbing the brakes at 20mph like I did before resulting in the ABS kicking in and the car pretty much stopping on the spot (or so it felt  . Braking performance is now absolutely fantastic – clearly how the E31 is meant to brake!
Difficulty – very easy.
Cost – pricey – $290 is the cheapest I could find the piece versus $360 dealer list price. It seems in the past few years the piece has got very expensive as forum posts from a few years ago talk about it being sub $100. Because it’s pressurised nitrogen these days you can’t ship it by air either and some places won’t even mail it!
Oct
23
The E31 air intake is more complex than other models. From the top of the engine bay you can see the rubber boots on each side joining the air filter boxes to the pipework. However, there’s another boot on each side after this connecting the air ducts to the pipework. You can barely see it from above, and replacing it is probably a bumper off job!


The replacement piece was very cheap at $6 so I replaced it even though I doubt there was any real problem caused by the rip. The bumper was already off – I didn’t remove it just for this!
Recent Comments